
If you want to attract high-quality audience to your Telegram channel with PropellerAds, it’s important to build the right chain – from format customization to analytics integration. In this guide, we’ll show you step-by-step how to launch a campaign with analytics via MVP Project to track results and scale only working bundles.
Step 1. Registration in PropellerAds and replenishment of balance
Go to the PropellerAds website, register (if not already registered) and log in to your personal account.
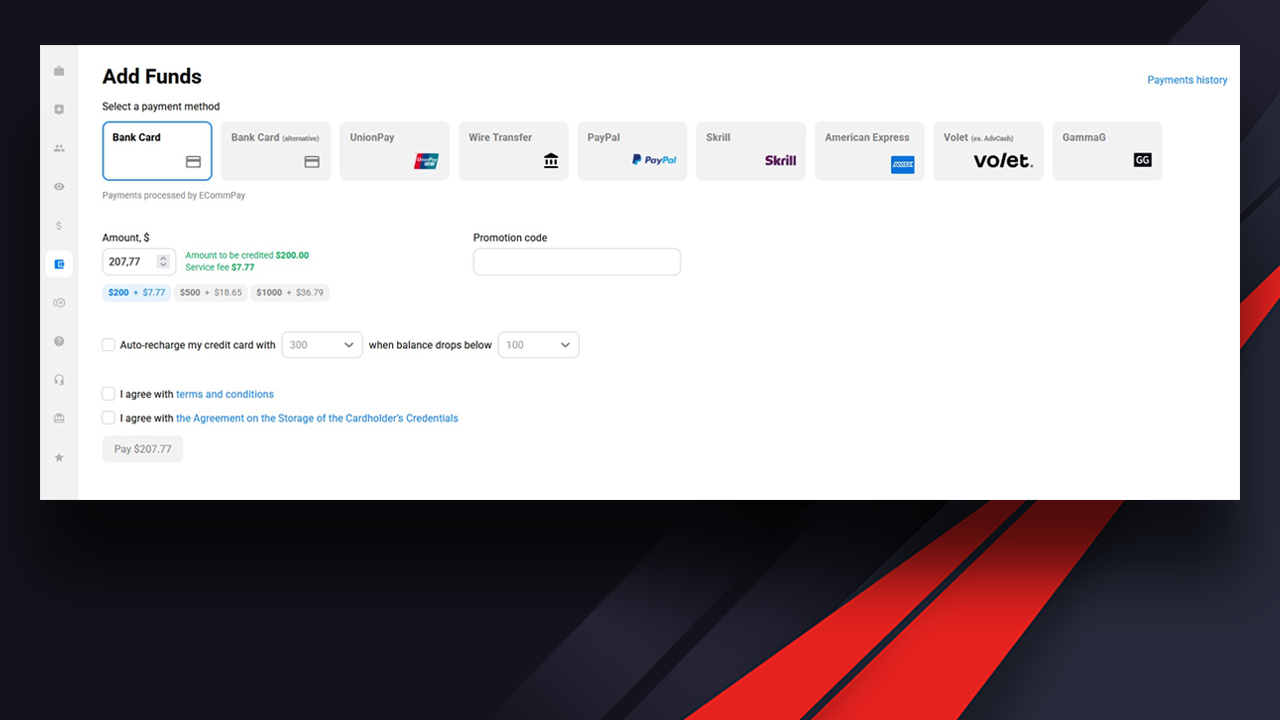
After logging in, replenish your account in any convenient way – this can be done on the main page, right after authorization.
Step 2: Create a new campaign
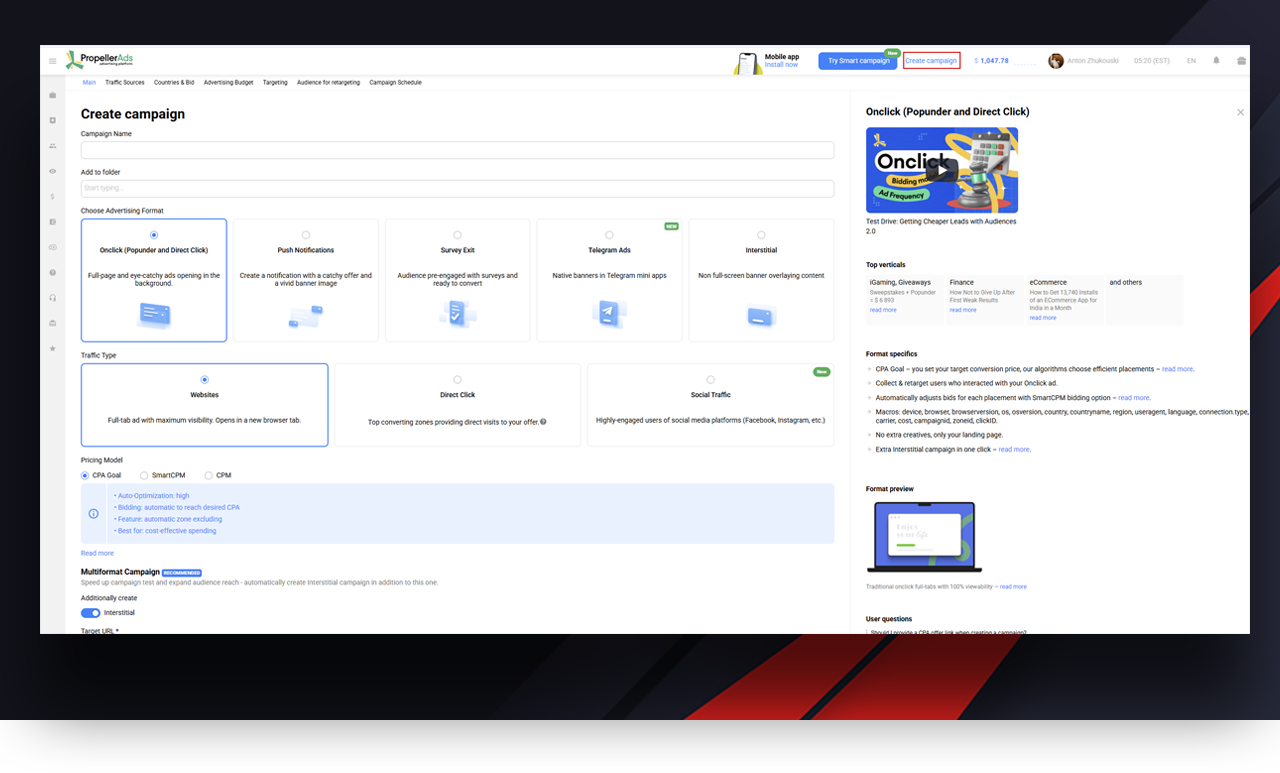
In the top bar of the interface, click “Create Campaign” – this is the button to create a new ad campaign.
Step 3: Selecting an advertising format – Onclick
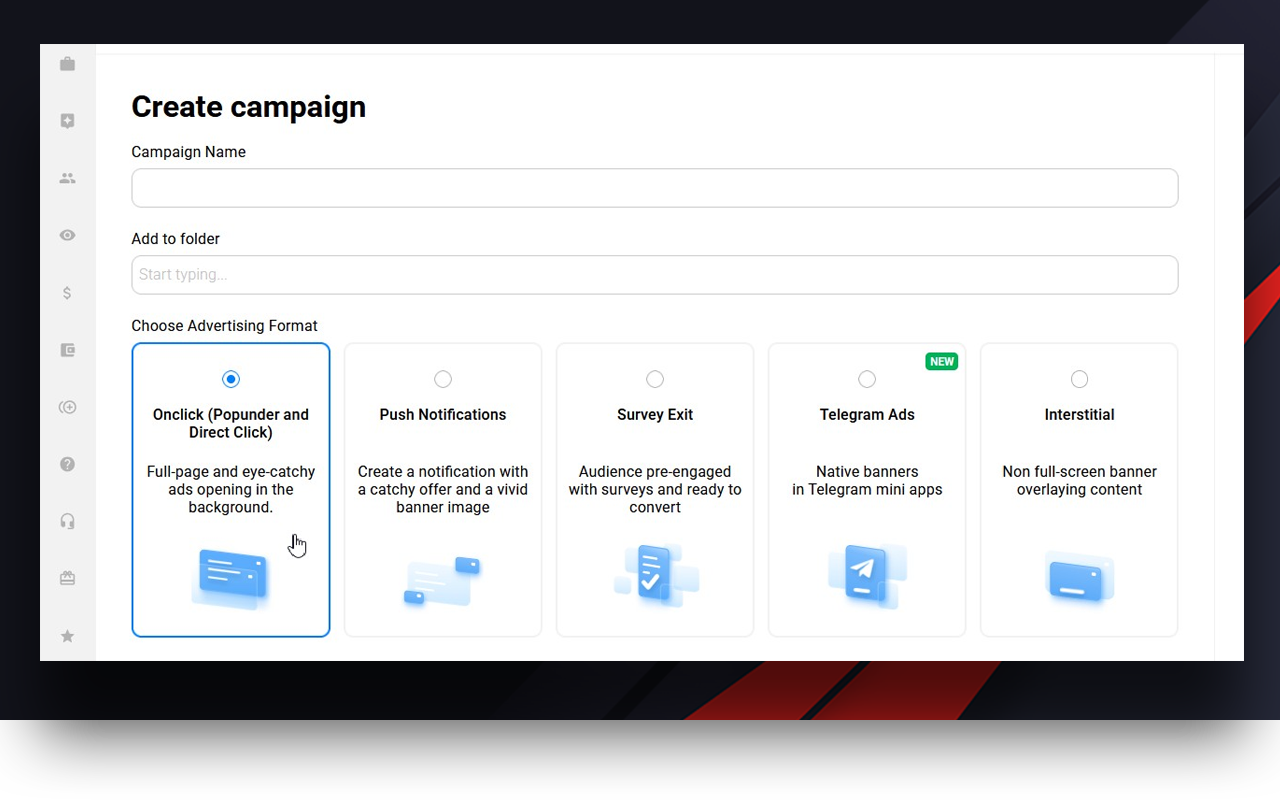
On the page that opens, select the Onclick format – this is one of the most popular models that will suit a wide Telegram audience.
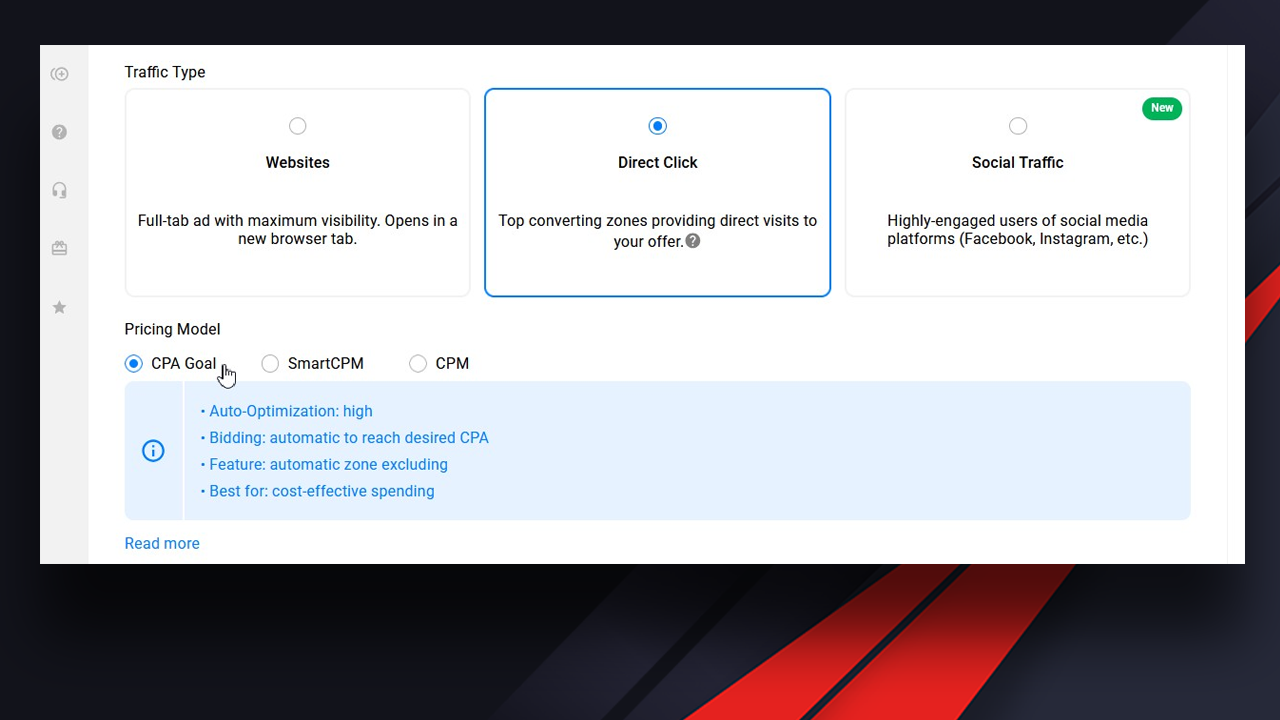
 Step 4: Direct Click option – for better quality traffic
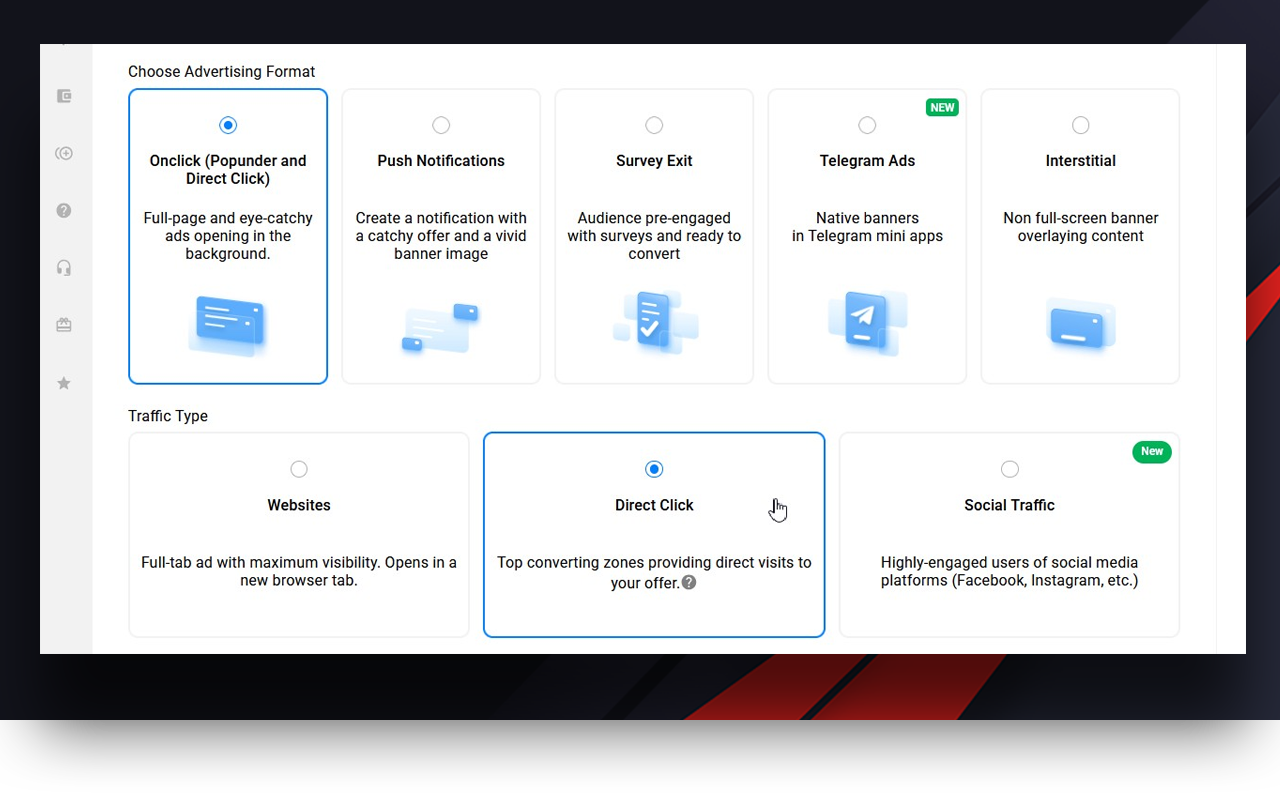
Below on the same page, enable the Direct Click option – this option helps you get more motivated users, bypassing intermediate redirects. So, it increases the chance of a subscription or a targeted action.
Step 5: Payment Model – CPA Goal
Just below select CPA Goal – this will allow the system to optimize shows for your desired action: subscription, dialog with bot or registration. You will pay not just for a click, but for a specific result.
Step 6: Integrating analytics through MVP Project
To capture real results (like how many subscribers came from a particular ad), you need to link PropellerAds to MVP Project.
To do this:
1. Go to the MVP Project website and log in.
2. Go to the “Spots” section .
3. Select the desired spot (traffic source), click the “Pencil” icon on it (edit).
How to create and connect Spots can be found on on this page.
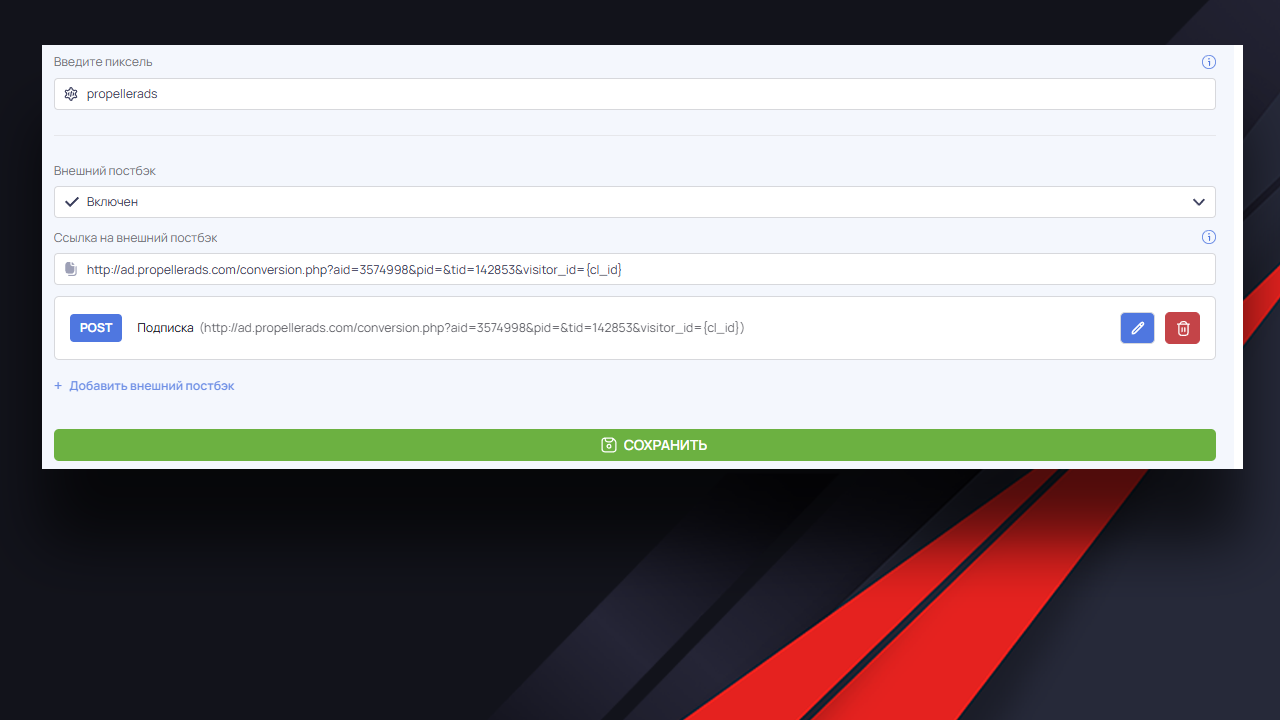
4. Go to the Postbacks tab .
5. Add a new postback named PropellerAds and specify the event you want to track (for example, a subscription or dialog).
👉 Important: the link to the external postback can be found here..
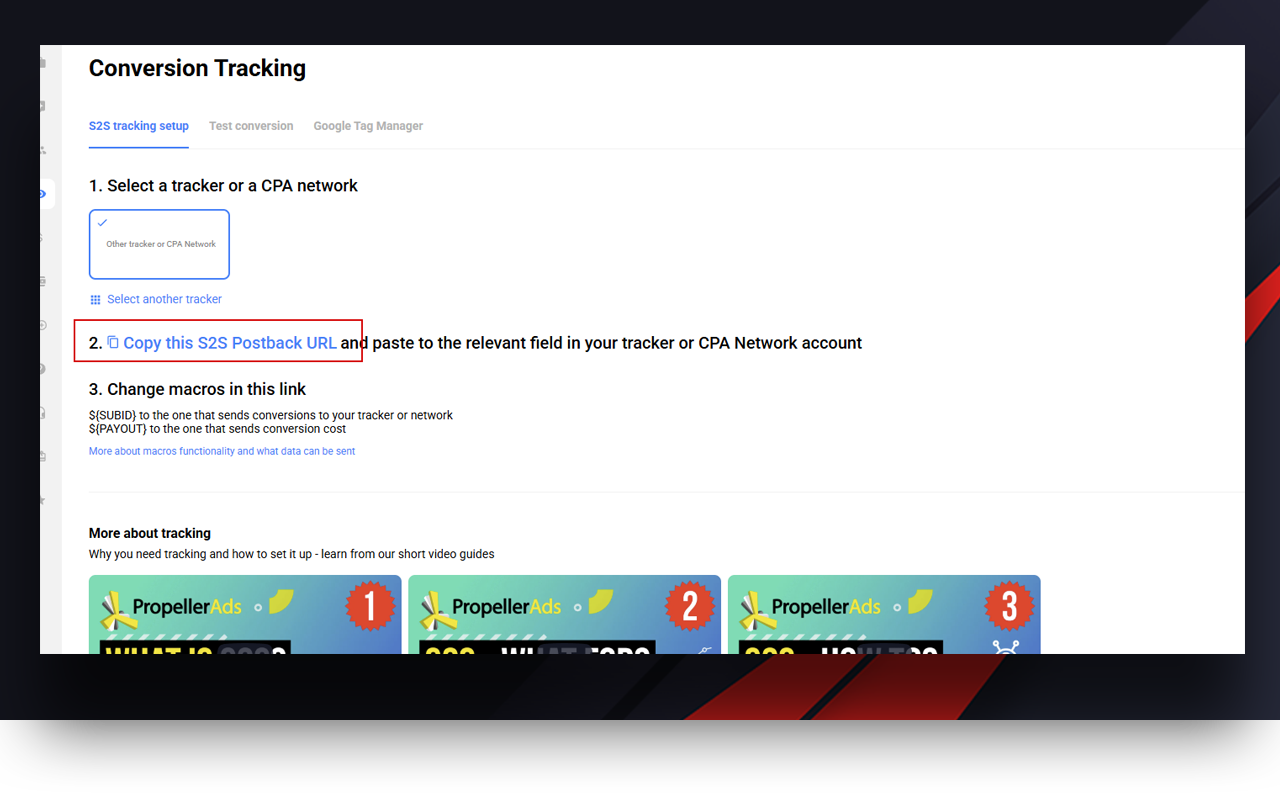 ❗️In the postback link from PropellerAds, replace the variable ${SUBID} with {cl_id}to correctly track clicks through MVP.
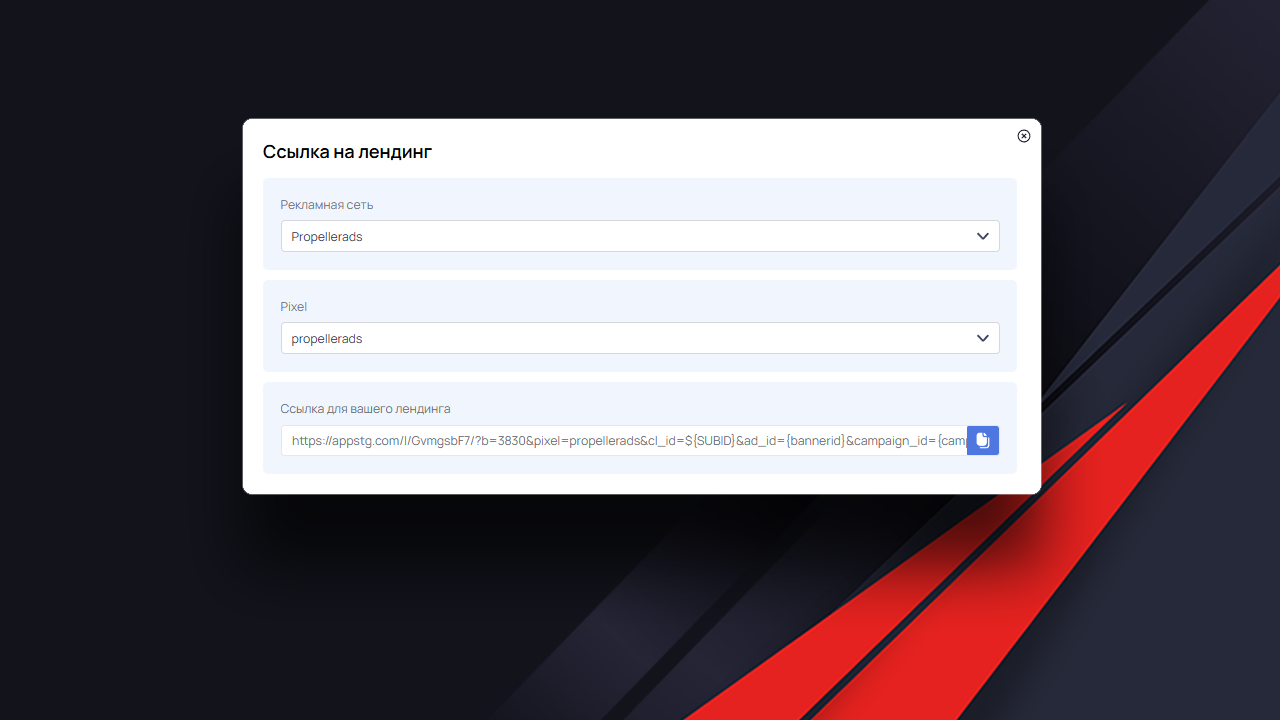
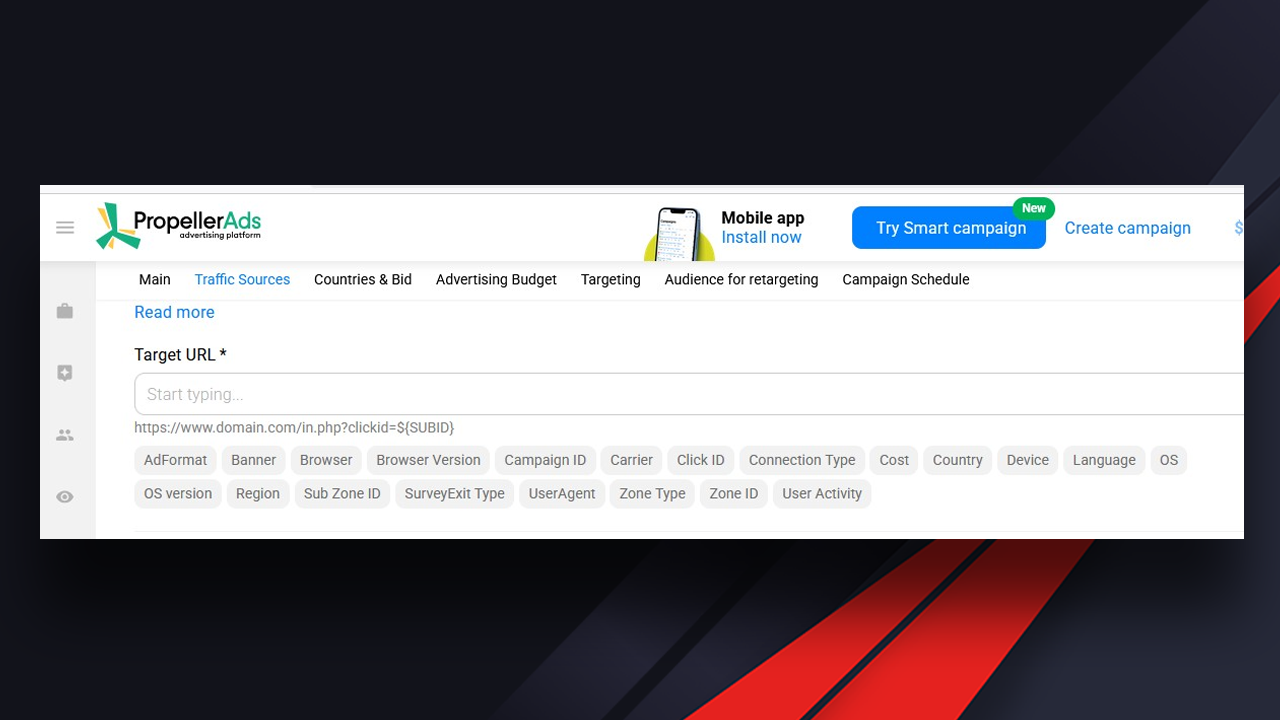
Step 7: Inserting the target landing page from MVP
Now let’s go back to creating a campaign in PropellerAds. In the Target URL field, paste the link to the landing page obtained in the MVP system. It is generated in the “Landings” section and will contain tracking for analytics.
Step 8: Finalize and launch the campaign
Once you’ve filled in all the fields, checked your format settings, targeting, link and analytics integration – scroll down the page and click “Start Campaign”.

Done! Your campaign is up and running
Now you are pouring traffic to your Telegram channel, not blindly, but with full-fledged analytics via MVP Project. This will allow you to quickly cut off unprofitable sources and scale what really works.


No Comment! Be the first one.