
Postbacks are a mechanism for automatically transferring events from your platform (such as an affiliate system or tracker) to the MVP Project system. They allow you to track key user activities such as registration, first purchase (deposit) and repeat purchases.
With their help, you’ll be able to connect your traffic source with real actions, measure the effectiveness of campaigns, and accurately account for conversions.
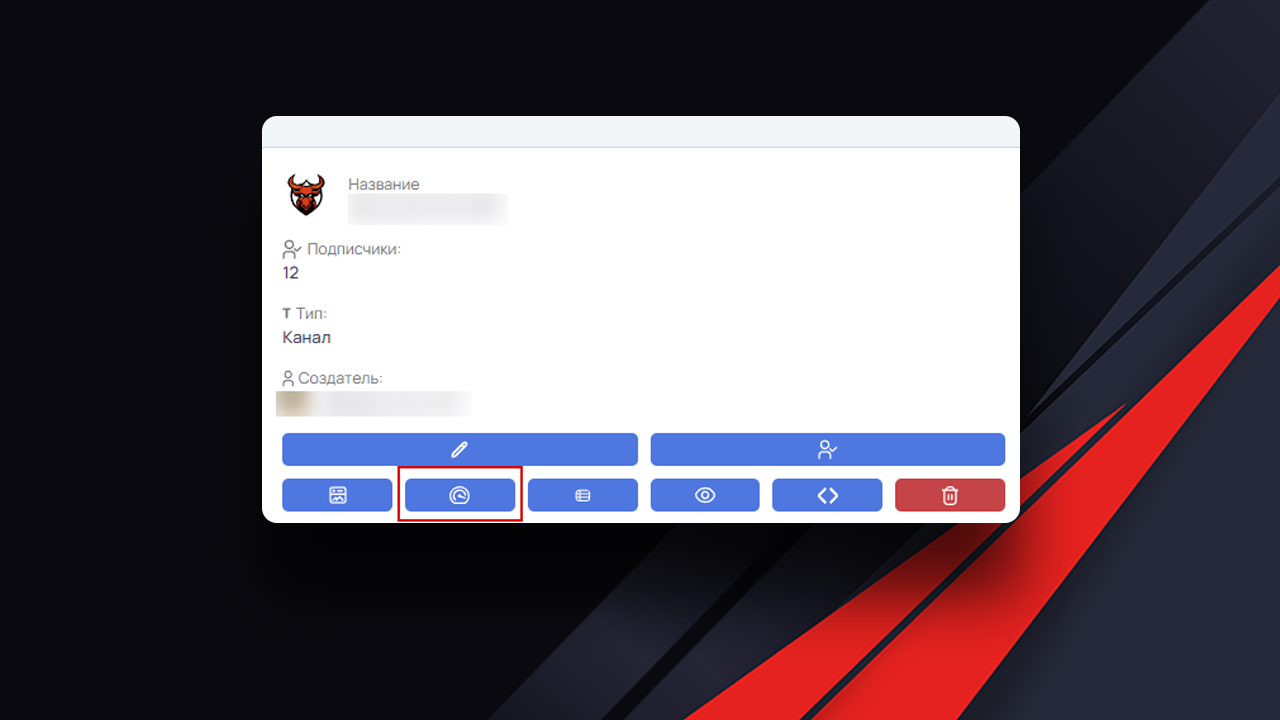
To create custom goals, go to the section “Goals.”.
Basic Principles
– All postbacks work using the GET request method.
– Parameters are passed through the URL.
– When the required event (registration, deposit, etc.) occurs, your system should automatically send the corresponding request to the MVP Project server.
– The data inside the URL needs to be dynamically substituted from your system.
Postback #1 – User Registration
When to invoke:
👉 Immediately after the user has registered on your side.
Request Format:
https://thedinator.com/api/v1/api_send_postback/?clickid={sub_id1}&goal=reg&playerid={playerid}&ow=0
Explanation of parameters:
– clickid – a unique identifier of a click from a tracker or affiliate. It is needed to associate the action with the traffic source.
– goal=reg – fixes the type of event. In this case it is registration.
– playerid – the unique ID of the user on your platform.
– ow – your account ID in the MVP Project system. This value is usually a fixed value.
What’s important:
– clickid should be saved at the time of the user’s first visit to the landing/pre-landing.
– All variables in curly braces {} need to be replaced with real data from your platform or CRM when submitting.
Postback #2 – First payment (deposit)
When to invoke:
👉 After the user’s first successful deposit (first payment).
Request Format:
https://thedinator.com/api/v1/api_send_postback/?clickid={sub_id1}&goal=dep&sum={sum}&playerid={playerid}&ow=0
Explanation of parameters:
– clickid – the same click ID used during registration.
– goal=dep – indicates that the event is related to the first deposit.
– sum – amount of the first payment.
– playerid – unique user ID (the same or the same as during registration).
– ow – your account ID in the MVP Project system.
Postback #3 – Repeat Deposits (second and subsequent payments)
When to call:
👉 With each subsequent user deposit after the first.
Request Format:
https://thedinator.com/api/v1/api_send_postback/?clickid={sub_id1}&goal=redep&sum={revenue}&sumrd={sumrd}&playerid={custom1}&ow=0
Explanation of parameters:
– clickid – the same click ID that was used on the first visit.
– goal=redep – event identifier: repeated payment.
– sum={revenue} – the amount of the repeated payment.
– sumrd – may duplicate sum if used in reporting.
– playerid={custom1} – user ID (if different from playerid in previous postbacks).
– ow is your ID in the MVP Project system.
How to connect postbacks correctly
1. Save the click ID when the user visits for the first time
When a user first arrives at your page via an affiliate link, the system should save the clickid value ({sub_id1}) so that it can be used later when passing events.
2. Configure the call of the required postback for each event
– After registration → postback #1 is called
– After the first deposit → postback #2 is invoked
– In case of repeated deposits → postback #3 is invoked
3. Make sure that the data has been correctly substituted
All variables (in curly brackets) should be replaced with real values from your system.
Example:
https://thedinator.com/api/v1/api_send_postback/?clickid=1234567890&goal=reg&playerid=user987&ow=0
There should be no {sub_id1} in production – only real values.
🛠 Monitoring and verification
All incoming postbacks are logged in the MVP Project system. You can:
– View the history of postbucks sent
– Ensure that they are successfully accepted by the system
– Diagnose possible errors
If you still have questions or need help with integration – write to MVP Project tech support: @onboarding_mvpproject


No Comment! Be the first one.